

Episode 16 – Rogue Resumes to Sexy CVs – 1. Add Columns
How to add columns to your resume or CV.
Rogue Resumes to Sexy CVs is my technical writing series to help your CV look a bit better in Microsoft Word. In this podcast episode I talk through how to add columns to your CV, especially when you have too much information. (Skip the intro and start at 5:35) Blog post and screenshots at: https://taku.com.au/rogue-resumes-sexy-cvs-add-columns/
Important notes:
- Curriculum vitae (CV) or resume (also spelt résumé – people often leave the accents off) essentially refer to the same thing. I’m talking about the document you list your qualifications and experience in when you are applying for a job.
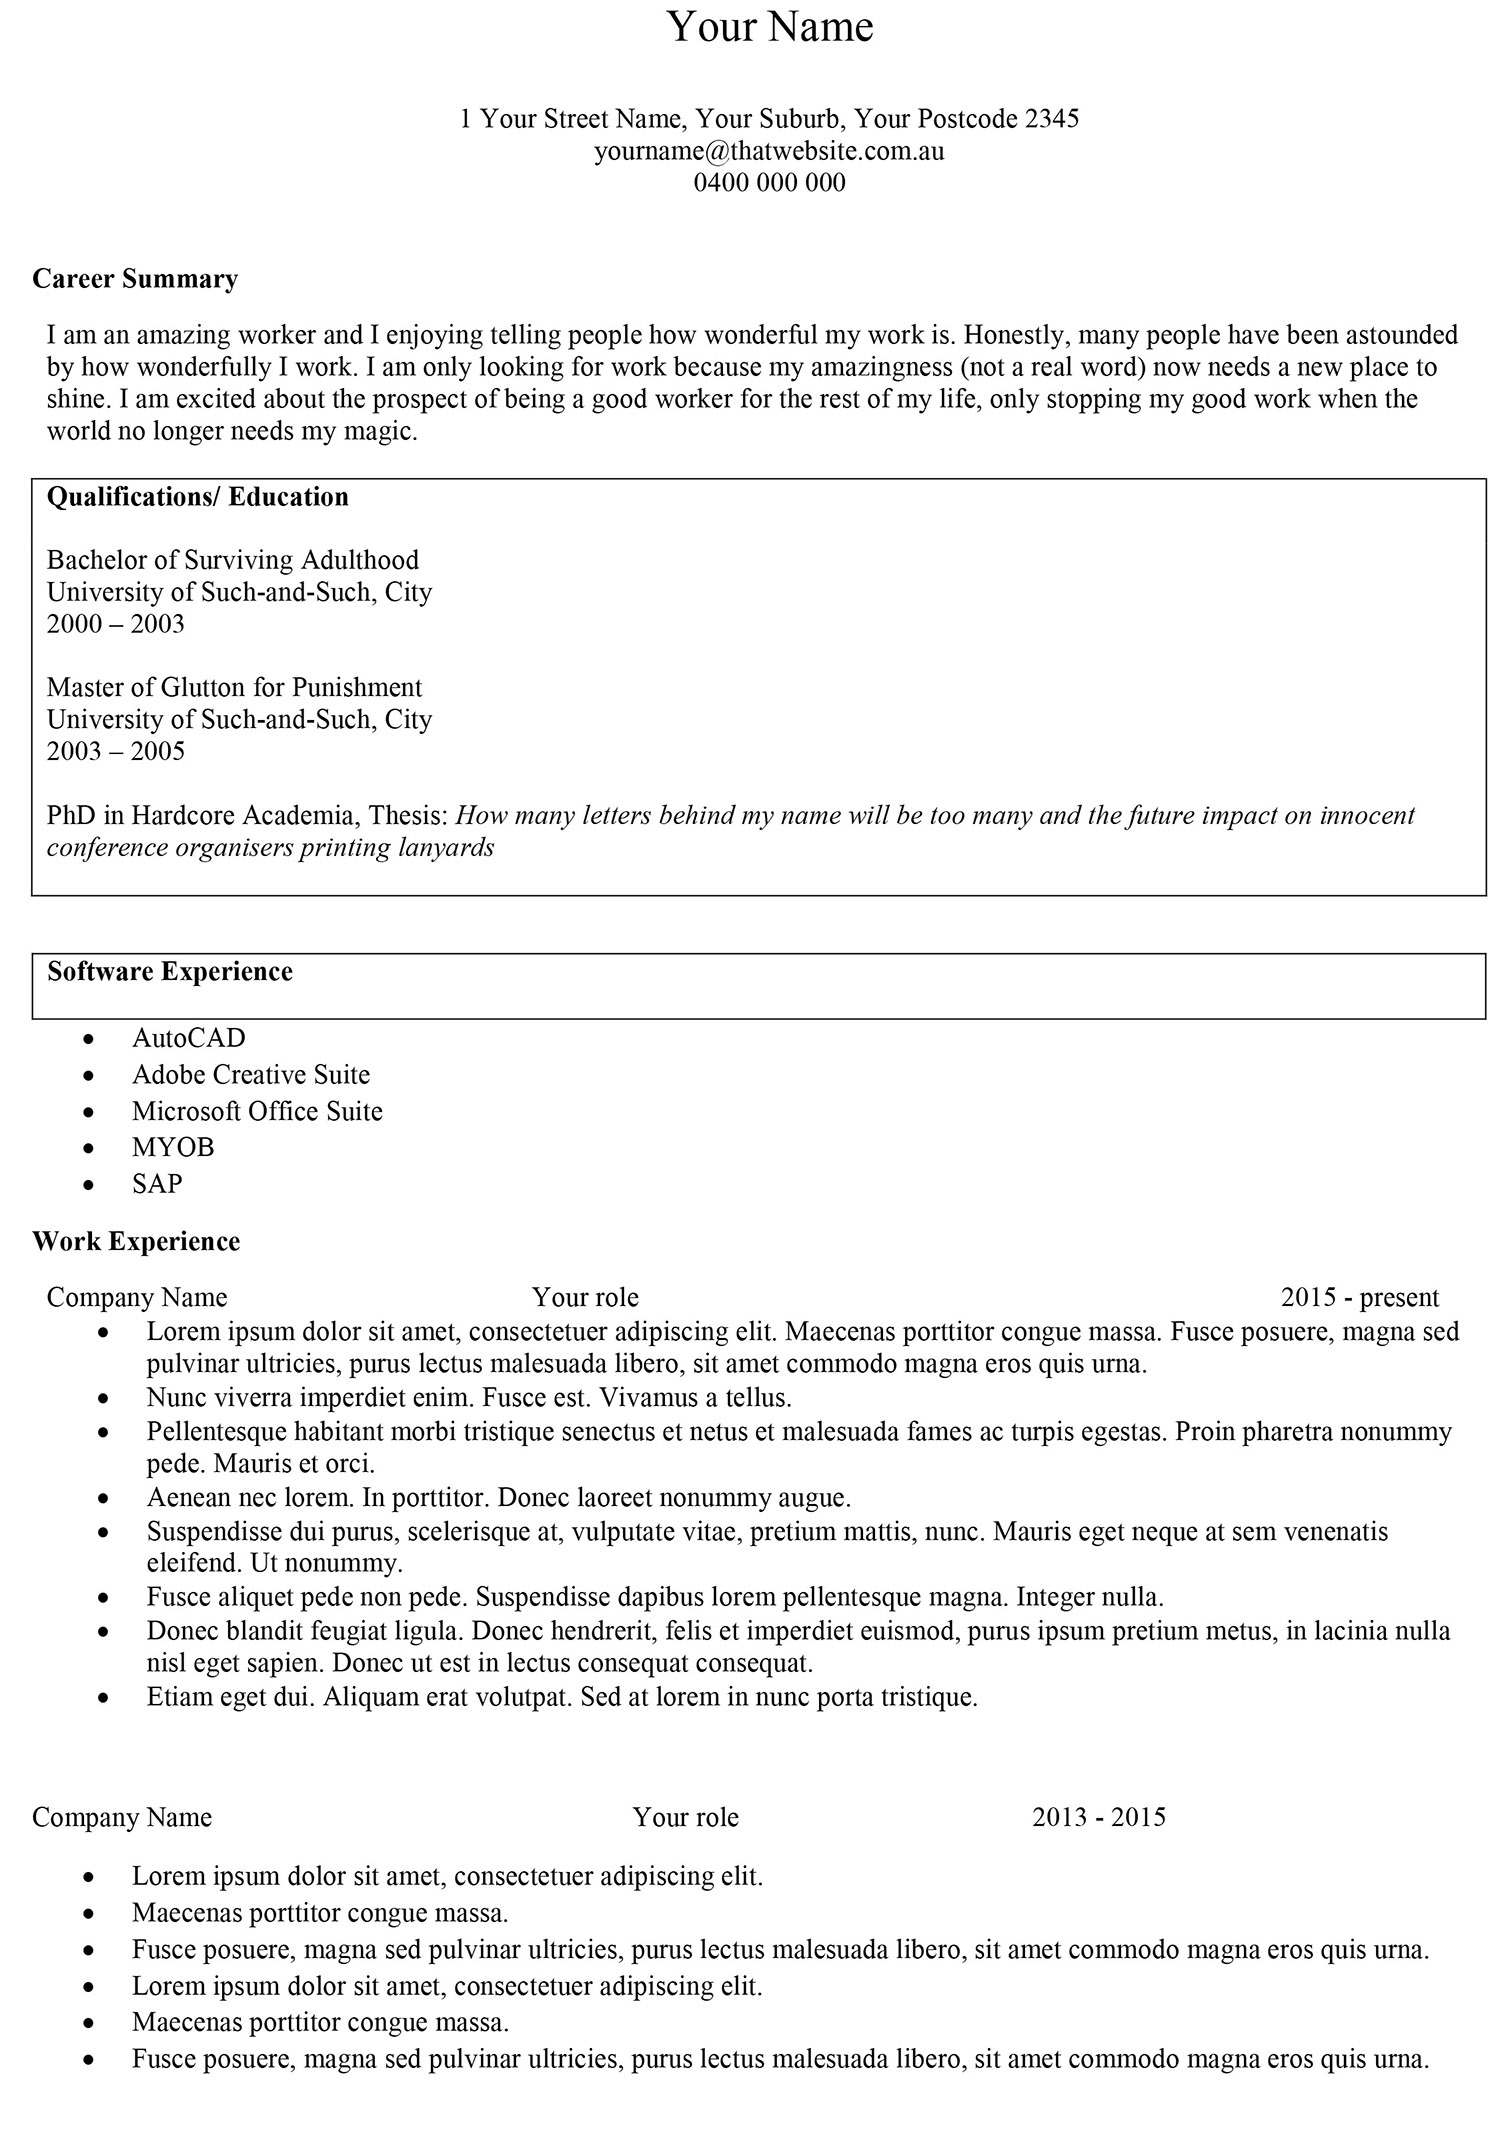
- The examples and templates I use are general guides only – some steps may not suit your CV, experience or some job applications. Disclaimer: you may find typos, grammatical errors and random placeholder text in there!
- The series describes the steps for Microsoft Word on Windows.
- If you have questions, leave them as comments and I’ll try my best to answer them.
Download the Microsoft Word template
Your Name Template (Word, 19 KB)
You’re also welcome to listen to the podcast episode and work in your own CV.
1. Remove tables and left align all your text
Unless you are a table guru, avoid using them in your CV. I know lots of people say they make the formatting easier, but I don’t agree. I find tables distracting because:
- Most people make the borders clear/invisible, then if you need to change or move stuff around you spend a lot of time trying to find the (invisible) borders or the table cursor.
- If someone e.g. a recruiter, needs to copy your information into another document, the table formatting doesn’t always carry over.
- Randomly placed tables with black borders can make the CV look dated.
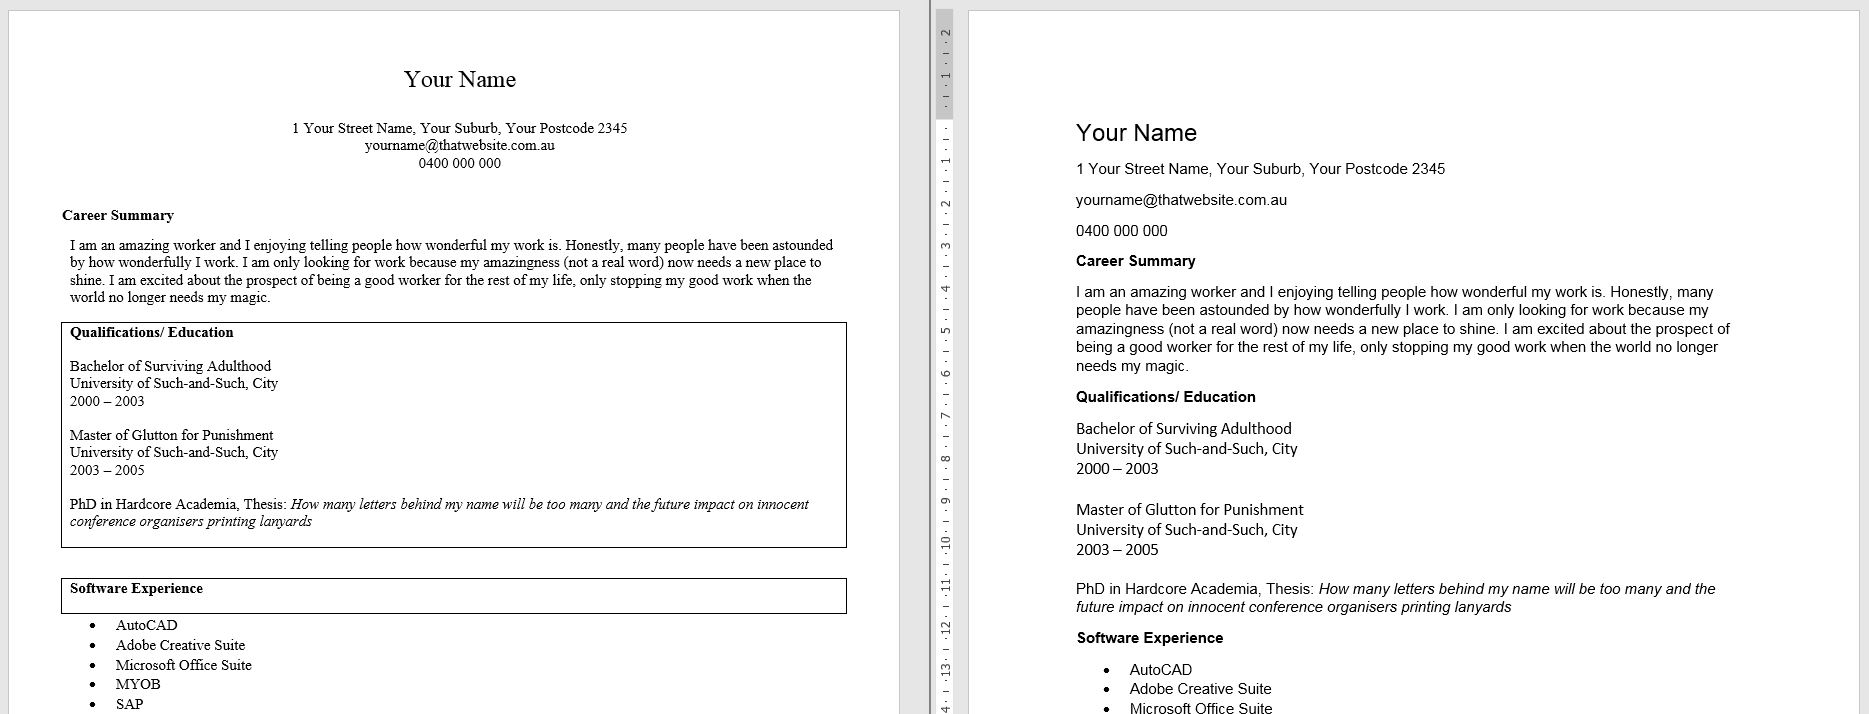
Now left-align everything.
2. Adjust your page margins
For this exercise, adjust your page margins to Normal (2.54cm) all around, which is already preset into the ribbon at the top. This gives your words a less squashed feel.
3. Change your font
If you’re still using Times New Roman in 2017, I’m not sure we can be friends. San-serif fonts like Arial, Segoe UI and Calibri make your resume look clean and modern. Check out this blog article for other font ideas: https://novoresume.com/career-blog/resume-fonts
Now compare before and after of our rogue resume.
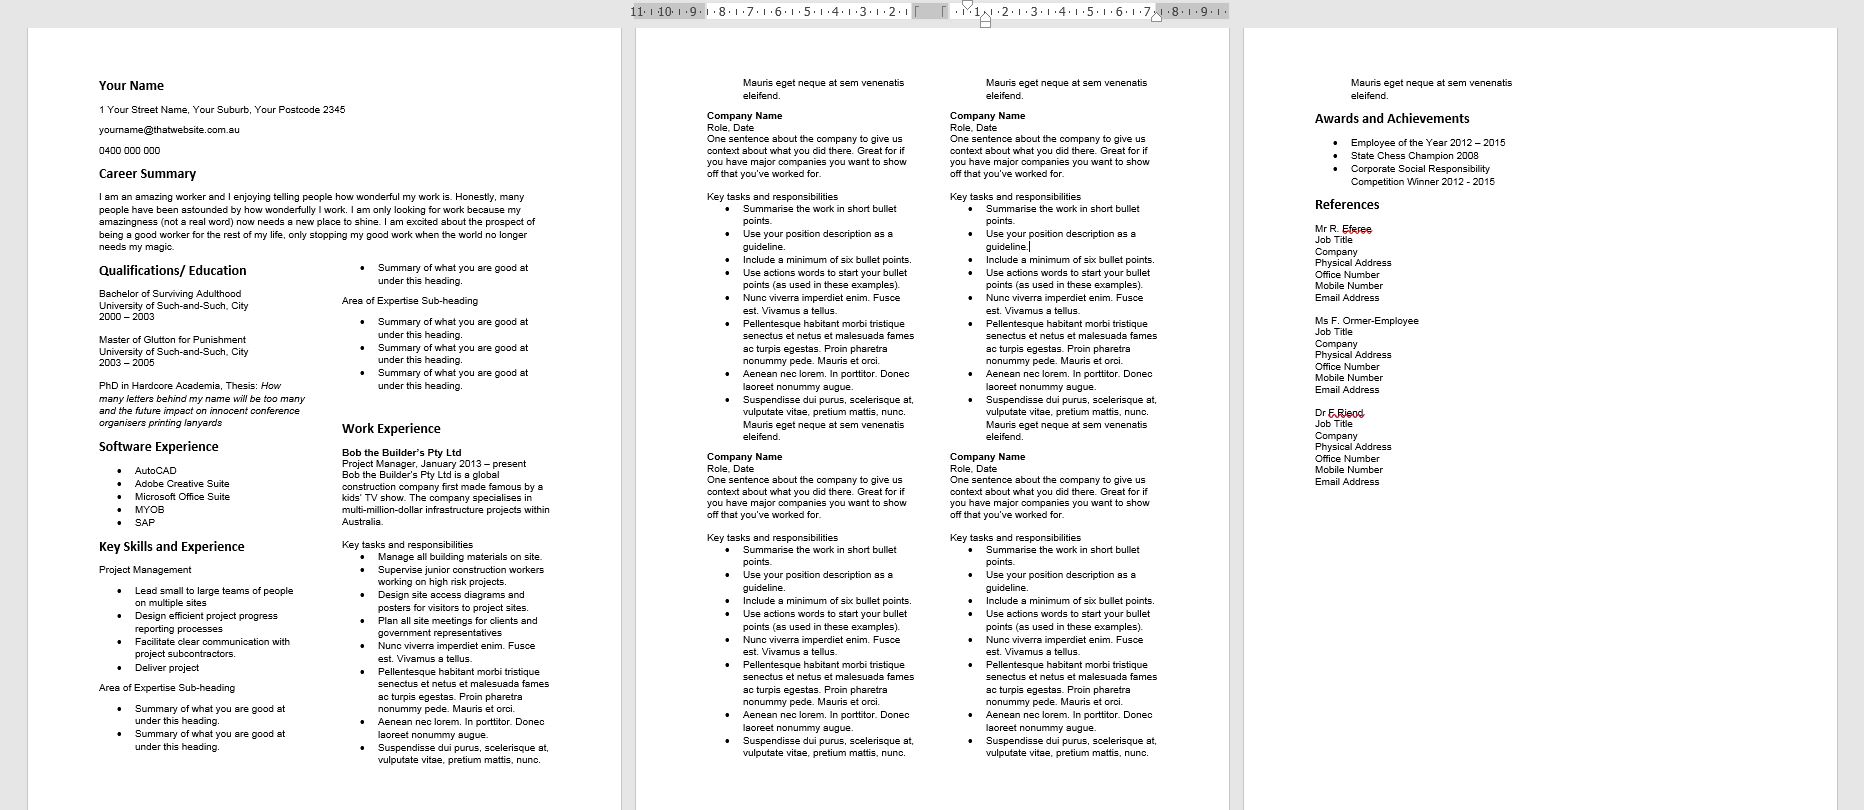
4. Add headings and sub-headings
Group the information in your CV into the suggested headings and sub-headings. Headings are good because:
- They give structure to your CV and shows logical grouping of information
- If you’re an ace in your field, with versatile areas of experience, it means you can pick the best bits and highlight them
- The start to make your CV visually appealing and easier on the eye.
Key Skills and Experience – the summary within your CV – if the recruiter is hungry, about to go to lunch and can’t be bothered reading the whole thing, all they’d need to know is that first column. What are you good at?
In this CV, I’ve stripped away the annoying tabs and opted to write a sentence or two about the company, your role there and what you did there. Also, use action words for your tasks and responsibilities – no waffly bits about “I was responsible for…” you want to make it as easy as possible for your future employer or recruiter to get what you’re about.
Awards and achievements is way more interesting that hobbies and interests. Surely there must be things you have done or that you can shine in. Volunteering is a great default interest and/or achievement but be specific.
5. Final text check
Go over the whole CV and make sure that everything you want is in there. Check the content, the grammar, everything. This is the final step before you add columns.
6. Add columns to your CV
For this exercise, we are going to split the text after the Career Summary into two columns because we want your name and your career summary to be more prominent. You can play around with that option if you’re still stuck for space.
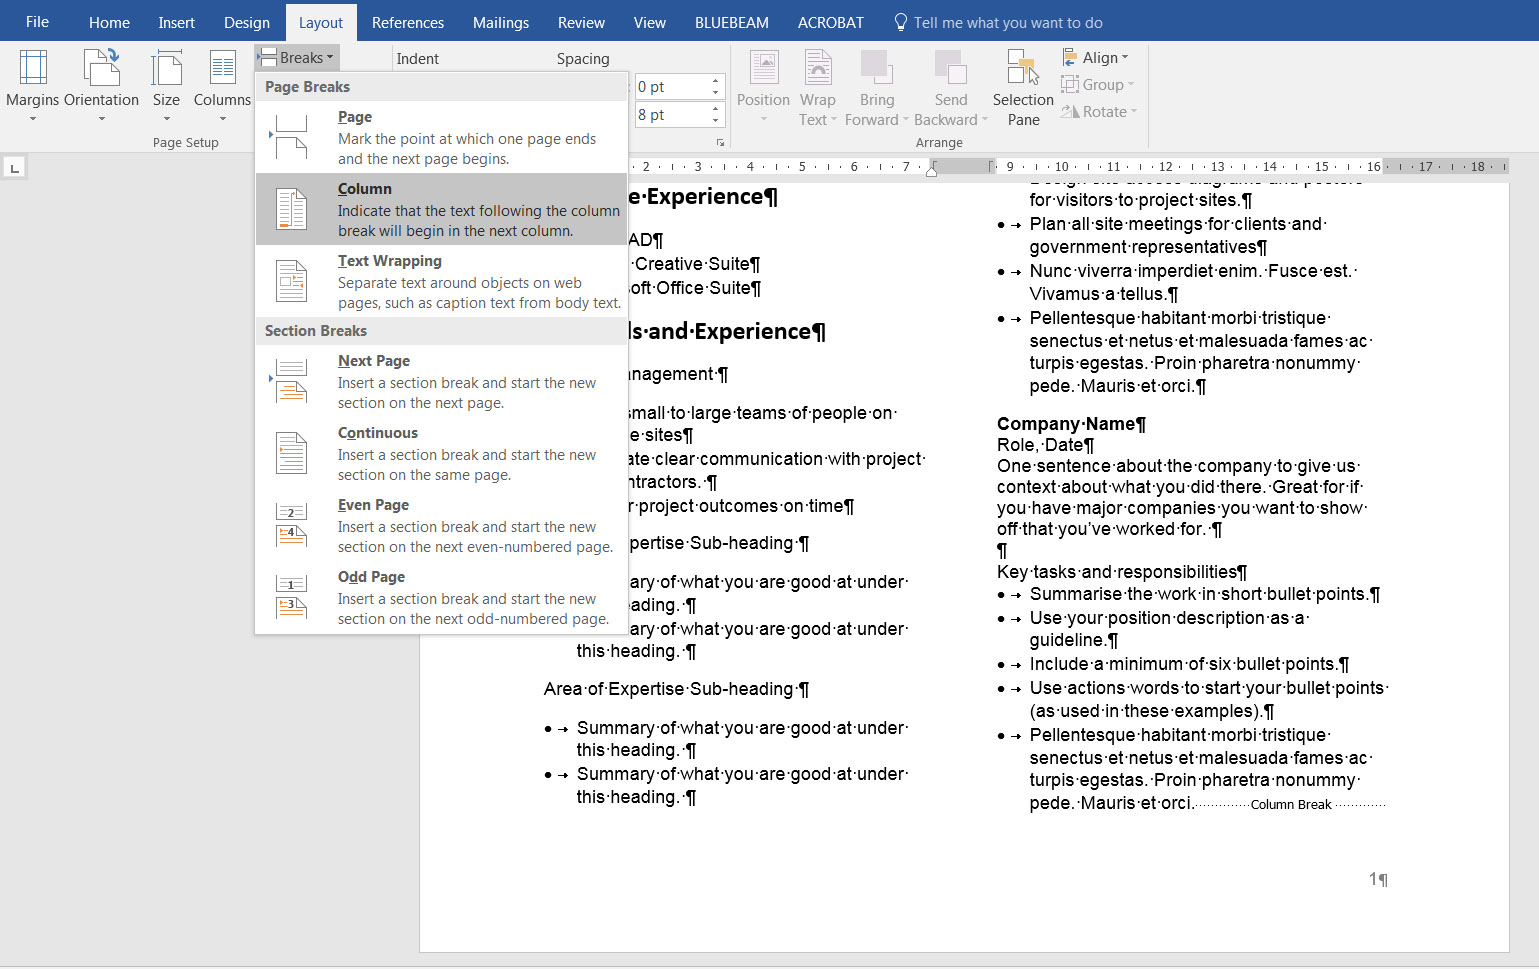
How to add columns? Go to Layout > Columns at the top and select two. Your overall document should now look like this:
7. Use Ctrl+Shift+8 or Ctrl+* – hidden magic!
I cannot live without this shortcut. I can’t. It shows you all the hidden formatting of your document and I think this is where people go wrong and get frustrated. As you add or delete more experience or swap over a referee’s name, words start refusing to stay where you want them.
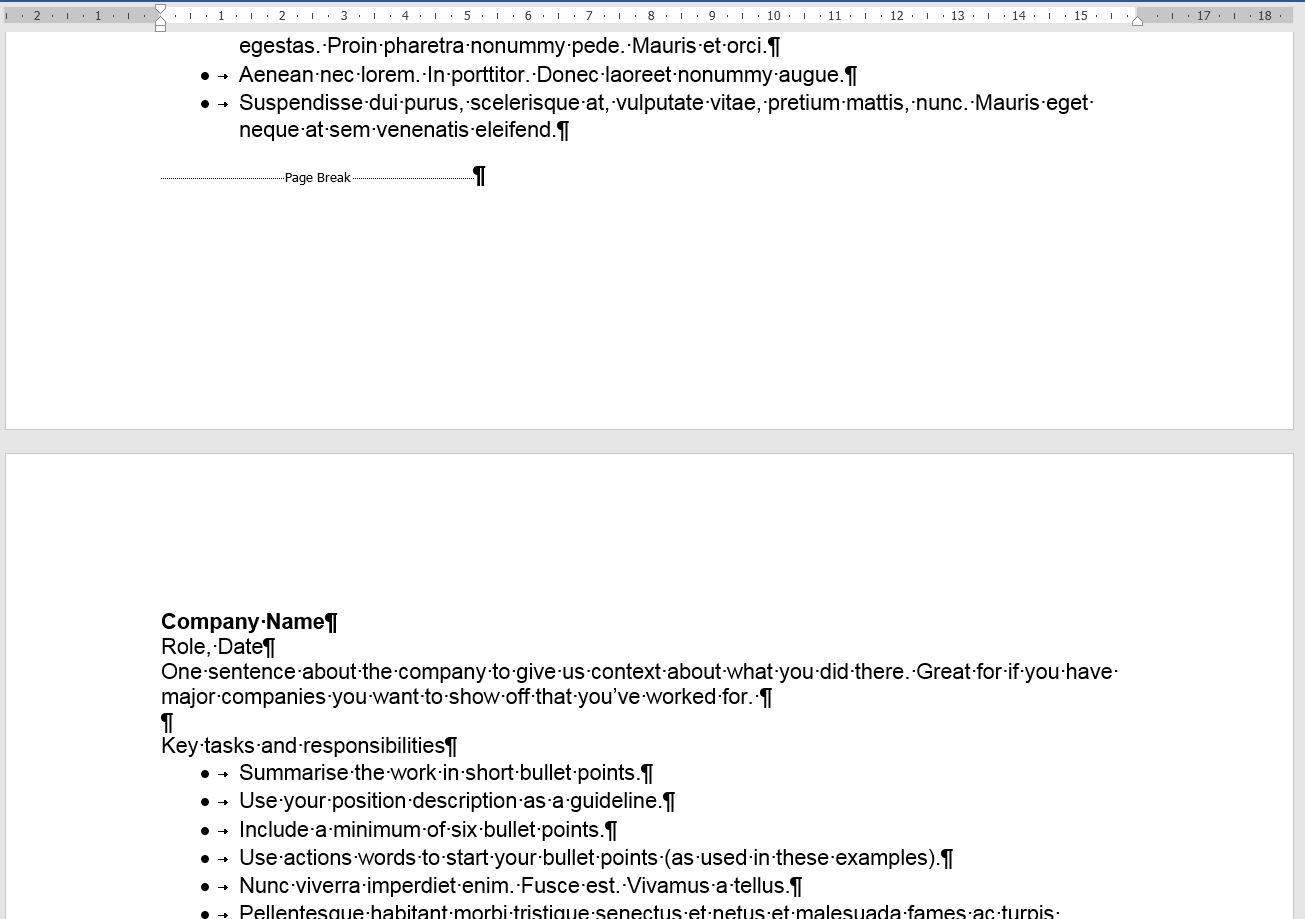
Now here’s an example that happens all the time. A sentence or block of information needs to start on the next page.
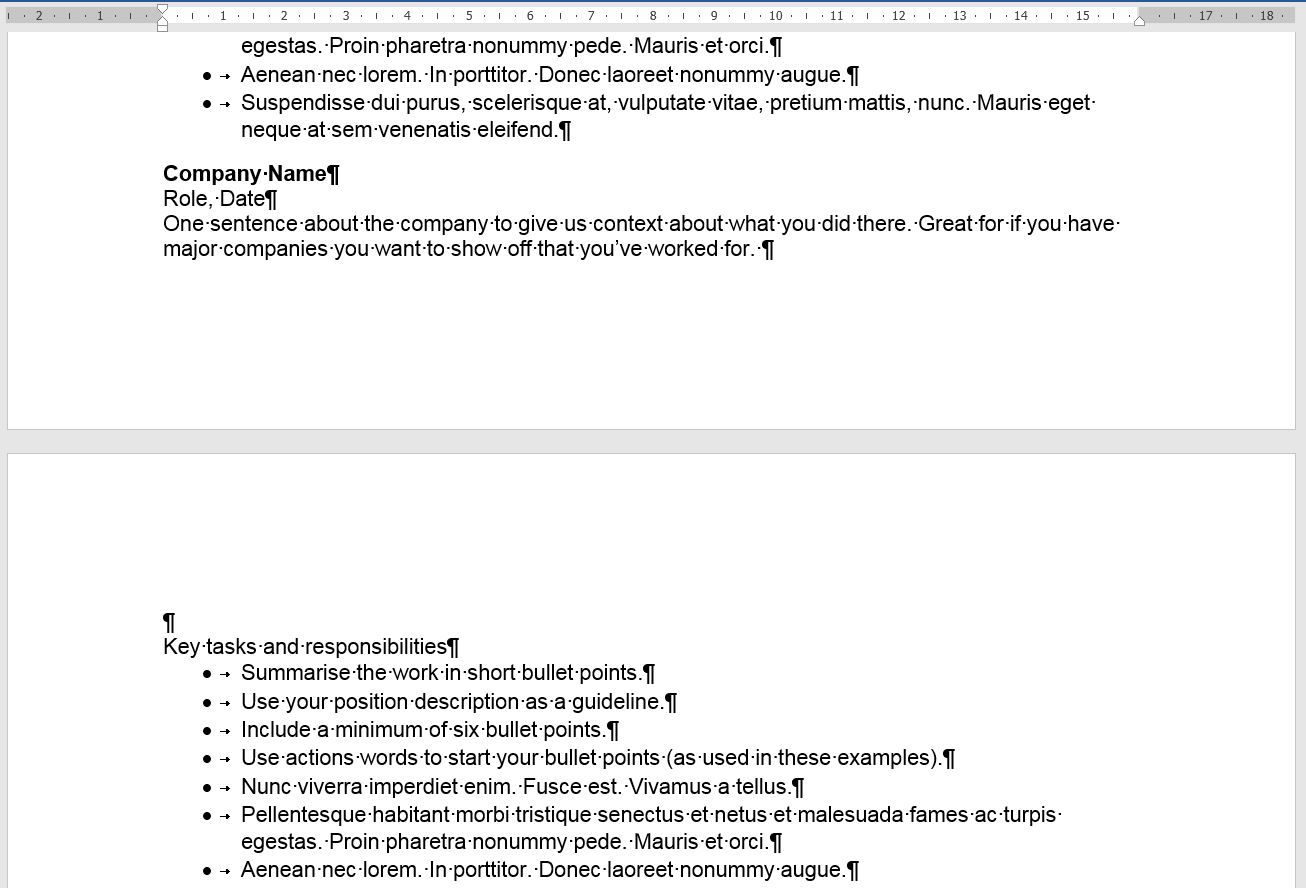
Here’s what most people do:
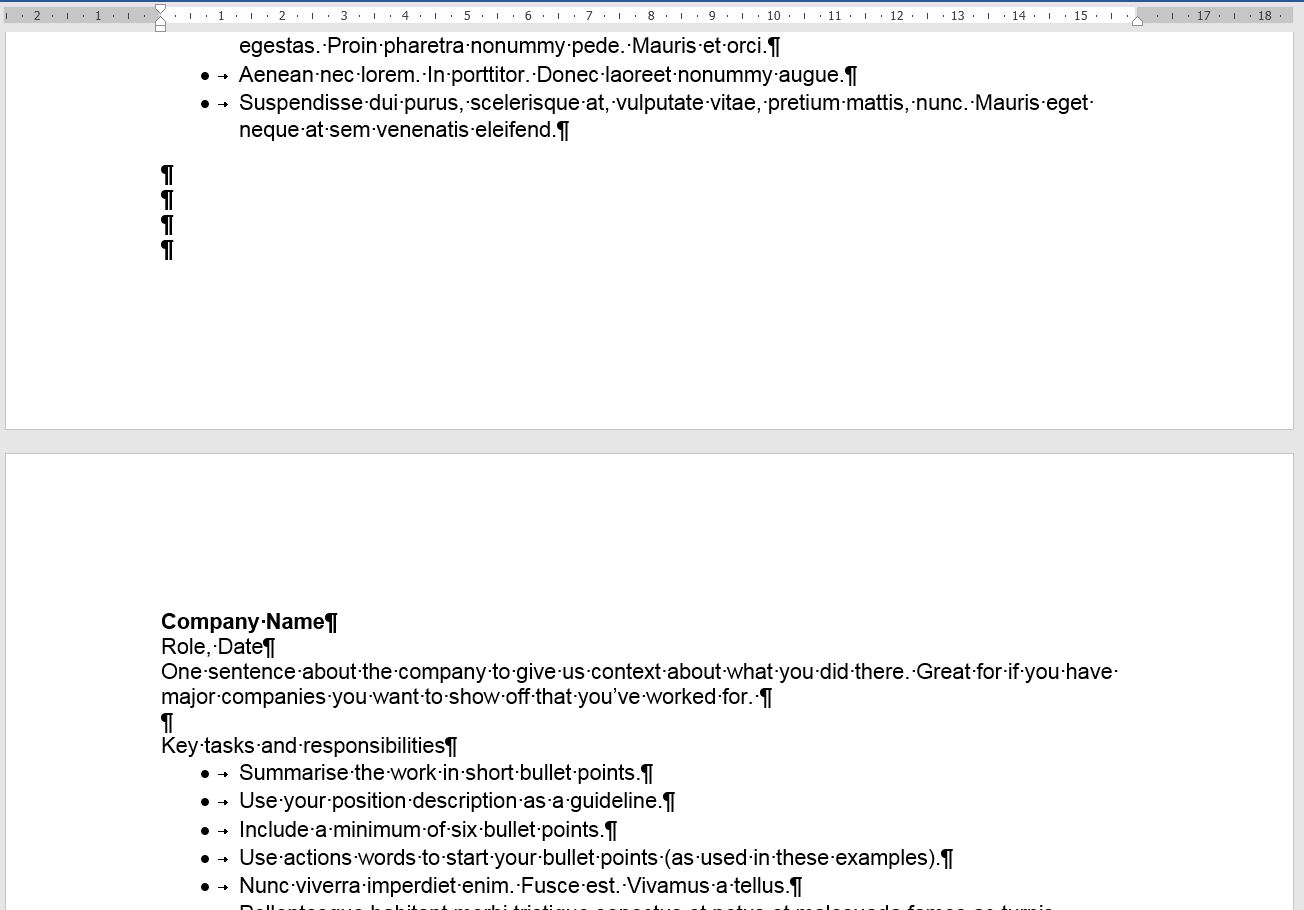
They press the Enter key (those four black symbols represent paragraph marks) until that damn sentence starts exactly where they want it to. But here’s the problem with that:
- If you change any text before or after that then you have random blank spaces in your CV.
- If your CV is a few pages long, then you have them everywhere and that’s an extra task to always check where they are so everything lines up.
8. Beautiful breaks
Your life will be much easier when you learn how to use section breaks, page breaks and column breaks. Not just for your CVs…for everything. I won’t bore you with too much technical stuff, but just know these basics rules.
Section breaks
They’re great when you want to do different things to different parts of your document. In this CV there is a section break added after the Career Summary because we are going from one to two columns.
Page breaks
Exactly that, they start your text on a new page. I’ve added one to that extra text hanging over. Page breaks are great because they are easier to find!
Column breaks
They start your text in a new column. In this CV, I want that next work experience information to start in a new column. Even though that’s on a new page, it’ll always start in a new column if I add more text.
There are other types of section breaks to use, but for now the most important are the three above.
Now press Ctrl+Shift+8 again to hid the formatting marks again. Important note: deleting section breaks can completely mess up your document, so if you’re ever in doubt, show the hidden formatting then delete them. But that’s a post for another day!
9. Add page numbers
Once you are happy with moving the content around, you can add page numbers or your name as a footer at the bottom of the page. For this exercise, I’ve added page numbers.
10. Save a copy of your file
Or simply download my version of the Your Name Template_Columns, ready for the next episode – adding a bit of colour to your CV.
Your Name Template_Columns (Word, 19KB)

Writer by day; aspiring comedian and TV producer by night.


